Imagine you've just deployed a new version of your application to your Kubernetes cluster. The deployment command finishes successfully, and you're expecting your Pods to start serving traffic within seconds.
You open your terminal and run:
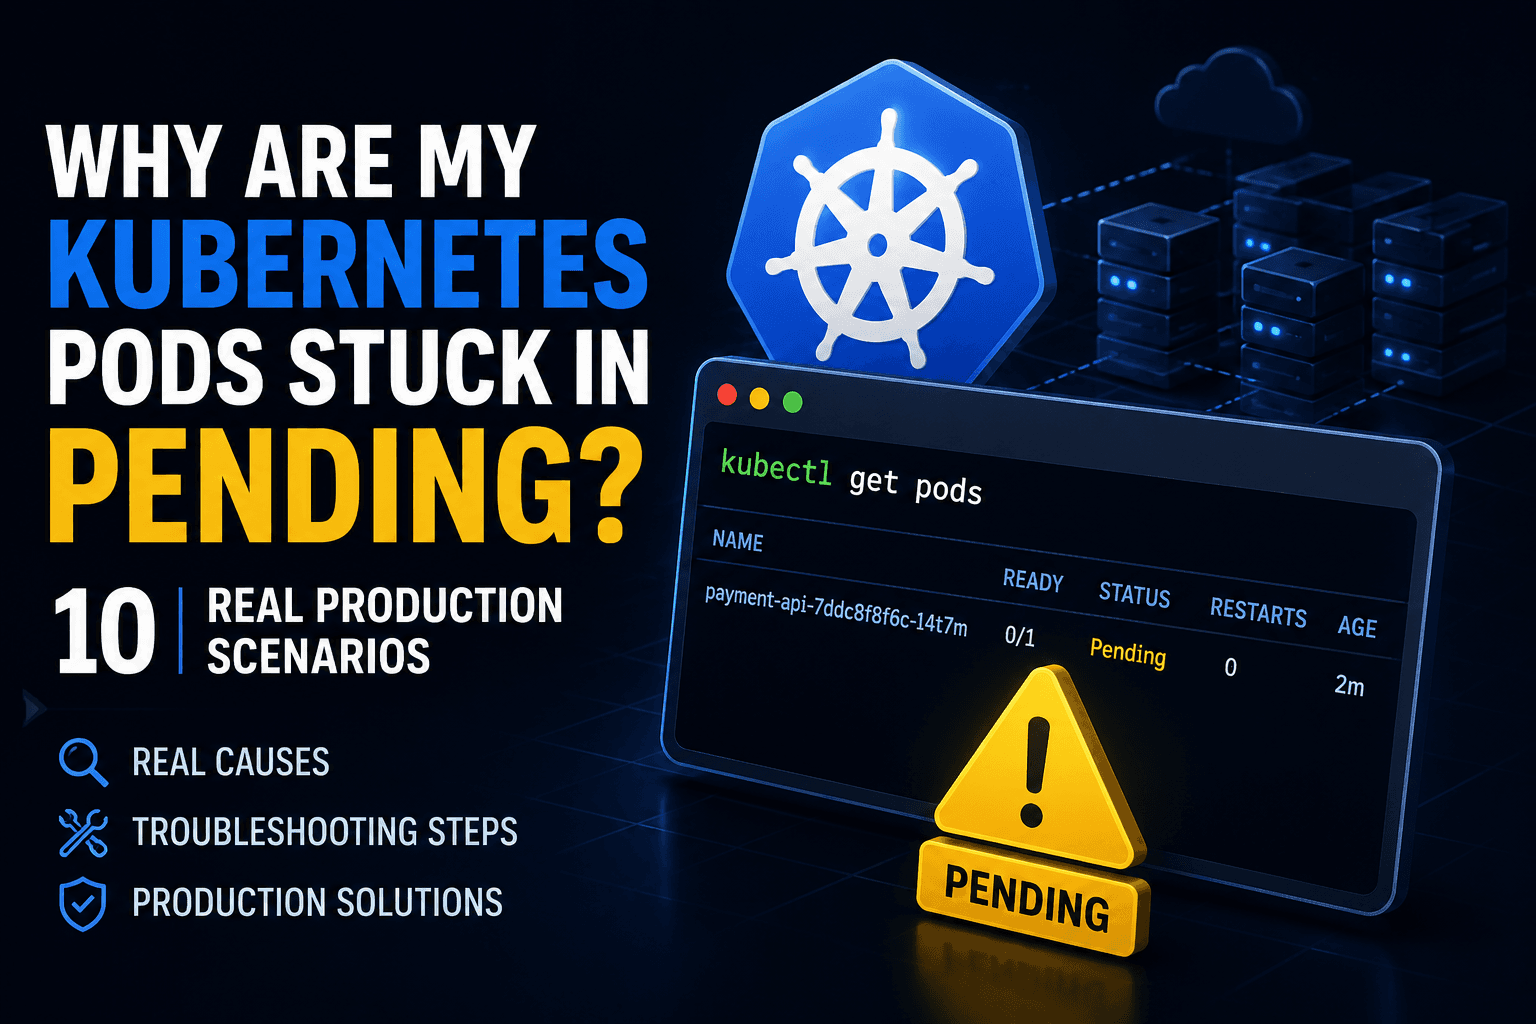
kubectl get pods
Instead of seeing the familiar Running status, you notice something frustrating.
NAME                            READY   STATUS    RESTARTS   AGE
payment-api-79bdbfbb96-l4t7m    0/1     Pending   0          2m
Five minutes later, the Pod is still in the Pending state.
Your first instinct might be to delete the Pod or restart the deployment, hoping Kubernetes magically fixes the problem. Unfortunately, that's not how Kubernetes works.
A Pod doesn't enter the Pending state because it's broken. It enters Pending because Kubernetes cannot satisfy one or more scheduling requirements. Until those requirements are met, the scheduler simply refuses to place the Pod on any worker node.
This article walks through the most common production scenarios that keep Pods stuck in Pending, explains why they happen, and shows exactly how to identify and fix each issue.
By the end of this guide, you'll have a repeatable troubleshooting workflow that works for almost every Pending Pod issue.
What Does Pending Actually Mean?
Before diving into troubleshooting, it's important to understand what the Pending state really means.
When you create a Pod, several components work together behind the scenes.
- The Kubernetes API Server accepts your Pod definition.
- The scheduler looks for a suitable worker node.
- The selected node receives the Pod.
- The kubelet starts pulling the container image.
- The container runtime starts your application.
A Pod remains in the Pending state somewhere between steps 2 and 4.
In simple terms, Kubernetes is saying:
"I know this Pod exists, but I cannot start it yet."
The reason could be insufficient resources, scheduling constraints, missing storage, node restrictions, or several other factors.
The good news is that Kubernetes almost always tells you why.
Your First Step: Don't Guess
Whenever you see a Pending Pod, don't immediately edit the Deployment or delete the Pod.
Instead, ask Kubernetes why it's waiting.
Run:
kubectl describe pod payment-apiScroll to the bottom until you reach the Events section.
You'll usually find something similar to this:
Warning  FailedScheduling
0/4 nodes are available:
2 Insufficient cpu
1 node(s) had untolerated taint
1 node(s) didn't match node affinity
This single section often reveals the exact reason the scheduler rejected your Pod. Many engineers spend thirty minutes checking YAML files when the answer has already been printed by Kubernetes.
Scenario 1 – Insufficient CPU
One of the most common reasons for Pending Pods is a lack of available CPU resources.
Imagine your Deployment requests four CPU cores.
resources:
  requests:
    cpu: "4"
Your cluster contains three worker nodes.
Worker 1 → 2 CPU available
Worker 2 → 1.5 CPU available
Worker 3 → 3 CPU available
Although your cluster has enough total CPU capacity, no single node has four available CPU cores.
Remember that Kubernetes schedules a Pod onto one node, not multiple nodes.
Since no node satisfies the request, the scheduler leaves the Pod in Pending.

You can verify node capacity using:
kubectl top nodesIf Metrics Server isn't installed, use:
kubectl describe node worker-1Look for: Allocated resources
This section shows requested CPU rather than actual CPU utilisation. Many engineers confuse CPU usage with CPU requests. Kubernetes schedules Pods based on requested resources—not current utilisation.
How to Fix It
There are several options.
- Reduce the CPU request if it's unnecessarily high.
- Add additional worker nodes.
- Enable Cluster Autoscaler.
- Redistribute workloads across nodes.
Scenario 2 – Insufficient Memory
Memory issues look almost identical to CPU issues but are often harder to diagnose.
Suppose your application requests:
resources:
  requests:
    memory: "8Gi"
Every worker node currently has only 6 GiB of allocatable memory remaining. Even if applications are barely using RAM, Kubernetes only considers requested memory, not current consumption.
Running:
kubectl describe pod payment-apimight display:
Warning FailedScheduling
0/5 nodes are available:
Insufficient memory
Again, inspect the node.
kubectl describe node worker-2Scroll to:
Allocated ResourcesCompare the requested memory against the allocatable memory. If requests exceed available capacity, Kubernetes refuses to schedule the Pod.
Production Tip
Avoid requesting excessive memory simply because "it might be needed."
Overestimating requests leads to poor cluster utilisation and unnecessary Pending Pods.
Scenario 3 – Node Taints Prevent Scheduling
Production clusters rarely allow every application to run on every node.
Database servers, GPU nodes, monitoring infrastructure, and machine learning workloads often run on dedicated worker nodes.
Administrators enforce this using Taints.
For example:
dedicated=database:NoScheduleThis tells Kubernetes:
Do not schedule ordinary Pods on this node.
If your application doesn't define the corresponding toleration, scheduling immediately fails.
Check node taints.
kubectl describe node worker-3You might see:
Taints:
dedicated=database:NoSchedule
Now inspect your Pod specification. If it lacks a matching toleration, Kubernetes has no choice except leaving it Pending.

A matching toleration looks like this:
tolerations:
- key: dedicated
  operator: Equal
  value: database
  effect: NoSchedule
Once the Pod tolerates the taint, scheduling succeeds.
Scenario 4 – Node Affinity Rules Exclude Every Node
Node Affinity allows applications to run only on specific nodes.
For example:
nodeSelector:
  environment: production
or
nodeAffinity:This is extremely common in production environments where workloads are separated by hardware type, region, or compliance requirements.
Imagine your Pod requires:
environment=productionBut every worker node has:
environment=stagingThe scheduler evaluates every node.
None match.
Result?
Pending.
Verify node labels using:
kubectl get nodes --show-labelsThen compare them against your Pod definition. A single typo in a node label can stop scheduling entirely.
Scenario 5 – Persistent Volume Claim Is Still Pending
Storage issues are another frequent cause. Your Pod may depend on a Persistent Volume.
Before Kubernetes starts the Pod, the requested storage must be successfully provisioned. Check your Persistent Volume Claims.
kubectl get pvcExample:
NAME          STATUS
database-pvc  Pending
If the PVC remains Pending, the Pod also remains Pending.
Common reasons include:
- StorageClass doesn't exist.
- CSI Driver isn't running.
- Storage quota has been exceeded.
- Requested storage size isn't available.
- Zone restrictions prevent provisioning.
Describe the PVC.
kubectl describe pvc database-pvcThe Events section usually explains why the storage request failed.
Remember:
No storage means no Pod.
A Pattern You'll Notice
After investigating these first five scenarios, you may notice a common pattern.
The scheduler isn't failing randomly.
It's evaluating a list of requirements.
If even one requirement isn't satisfied, scheduling stops immediately.
Whether it's CPU, memory, taints, affinity, or storage, Kubernetes is simply protecting the cluster from running workloads in an unsupported state.
That's why blindly deleting Pods almost never fixes the issue.
The real solution is understanding which requirement is preventing scheduling.
Scenario 6 – ResourceQuota Has Been Exceeded
Problem
Your cluster has enough CPU and memory, but the Pod still remains Pending. The issue isn't with the cluster—it's with the namespace. Many production environments use ResourceQuota to limit how much CPU, memory, or storage a namespace can consume. Once the quota is exhausted, Kubernetes won't schedule any additional Pods.
Check the quota
kubectl get resourcequotaDescribe the quota
kubectl describe resourcequotaYou might see something like: Used:
CPU: 8 Memory: 16Gi
Hard: CPU: 8 Memory: 16Gi
Since the namespace has reached its maximum allowed resources, the scheduler blocks new Pods.
Solution
- Delete unused workloads.
- Increase the namespace quota.
- Deploy the application to another namespace.
Scenario 7 – LimitRange Is Rejecting Resource Requests
Problem
Some organisations enforce LimitRange policies to ensure every Pod defines appropriate CPU and memory requests.
If your Pod doesn't meet these requirements, Kubernetes won't schedule it.
Check the namespace policy
kubectl get limitrangeDescribe it: kubectl describe limitrange
Example: Default CPU Request : 500m Default Memory Request : 512Mi Maximum Memory : 2Gi
If your Pod requests 8Gi of memory while the namespace only allows 2Gi, scheduling fails.
Solution
Update your Deployment to comply with the namespace limits or request an increased LimitRange from the cluster administrator.
Scenario 8 – Pod Anti-Affinity Prevents Scheduling
Problem
Your application uses Pod Anti-Affinity to ensure replicas don't run on the same worker node.
For example, three replicas must run on three different nodes.
But your cluster only has two worker nodes.
The scheduler can't satisfy the anti-affinity rule, so one Pod remains Pending.
Check the Deployment
kubectl describe deployment payment-apiLook for: podAntiAffinity
Verify cluster size
kubectl get nodesIf the cluster doesn't have enough eligible nodes, Kubernetes keeps the Pod Pending.
Solution
- Add more worker nodes.
- Relax the anti-affinity rules if strict separation isn't required.
Scenario 9 – Cluster Autoscaler Is Still Provisioning Nodes
Problem
Sometimes nothing is actually wrong.
The scheduler has requested a new worker node, but the cloud provider is still creating it.
During this time, the Pod stays in the Pending state.
This is common on:
- Amazon EKS
- Google Kubernetes Engine (GKE)
- Azure Kubernetes Service (AKS)
Check recent events
kubectl get events --sort-by=.metadata.creationTimestampYou may notice repeated scheduling attempts while the autoscaler is adding capacity.
Solution
Wait a few minutes and verify that the new node joins the cluster:
kubectl get nodesOnce the node is Ready, Kubernetes automatically schedules the Pending Pod.
Scenario 10 – Maximum Pods Per Node Has Been Reached
Problem
Every Kubernetes node has a maximum number of Pods it can host.
Even if the node still has free CPU and memory, it may refuse additional Pods once this limit is reached.
This is especially common in managed Kubernetes services.
Check node capacity
kubectl describe node worker-1Look for: Non-terminated Pods
or
pods: 110/110If the maximum Pod count has been reached, the scheduler cannot place any new Pods on that node.
Solution
- Add more worker nodes.
- Increase the maximum Pods per node (if supported by your cloud provider).
- Remove completed or unnecessary Pods.
Final Troubleshooting Checklist
Whenever a Pod is stuck in the Pending state, don't guess. Follow a consistent investigation process:
Step 1 – Check the Pod events
kubectl describe pod <pod-name>The Events section usually provides the first clue.
Step 2 – Verify node resources
kubectl top nodesEnsure there is enough allocatable CPU and memory.
Step 3 – Check node labels and taints
kubectl describe node <node-name>Look for Taints and verify that your Pod's affinity rules match available nodes.
Step 4 – Verify storage
kubectl get pvcA Pending PVC often results in a Pending Pod.
Step 5 – Review namespace policies
kubectl get resourcequota
kubectl get limitrange
Confirm that namespace restrictions are not preventing scheduling.
Step 6 – Check cluster capacity
kubectl get nodesEnsure the cluster has enough Ready nodes and hasn't reached the maximum Pod limit.
Conclusion
A Pod stuck in the Pending state isn't a Kubernetes bug—it's Kubernetes protecting your cluster by refusing to schedule a workload that doesn't meet its requirements.
In this guide, we've explored ten real production scenarios that commonly cause Pending Pods:
- Insufficient CPU
- Insufficient Memory
- Node Taints
- Node Affinity Mismatch
- Persistent Volume Claim Pending
- ResourceQuota Exceeded
- LimitRange Restrictions
- Pod Anti-Affinity Conflicts
- Cluster Autoscaler Delay
- Maximum Pods Per Node Reached
By following a systematic troubleshooting approach—starting with kubectl describe pod and then checking resources, scheduling constraints, storage, and namespace policies—you can identify the root cause quickly instead of relying on trial and error.
In production environments, the difference between an experienced Kubernetes engineer and a beginner isn't memorising commands; it's knowing where to look first. Build that habit, and you'll resolve Pending Pod issues faster and with much greater confidence.